I'm Basically an Eggspert
How to Color and Make Deviled Eggs
I'm just thrilled to share this little crafty/yummy dish with you BUT, before I do...I have to share some super cute Easter photos with you!
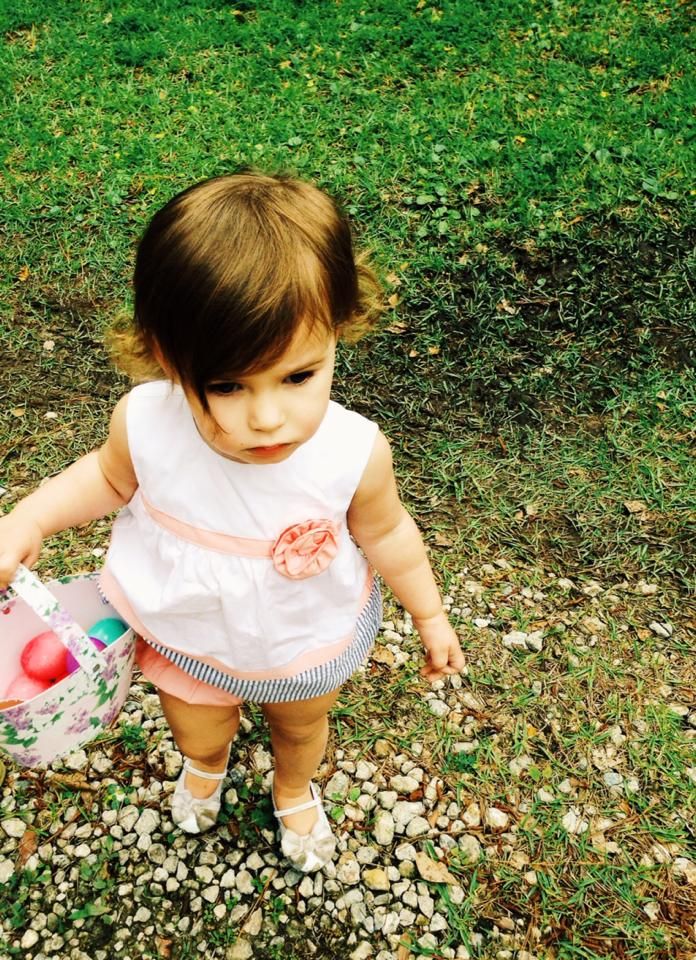
This adorable shirt and ruffle romper came from Gymboree. She looked absolutely GORGEOUS all day long. Even when she drooled chocolate all down the crisp whiteness.
Aweee...
UGH! Okay, last one.
Back to business. I worked so hard on making these photos pretty considering, it was pitch black outside and my lovely husband has yet to replace the lightbulb in the kitchen! Forgive me. :)
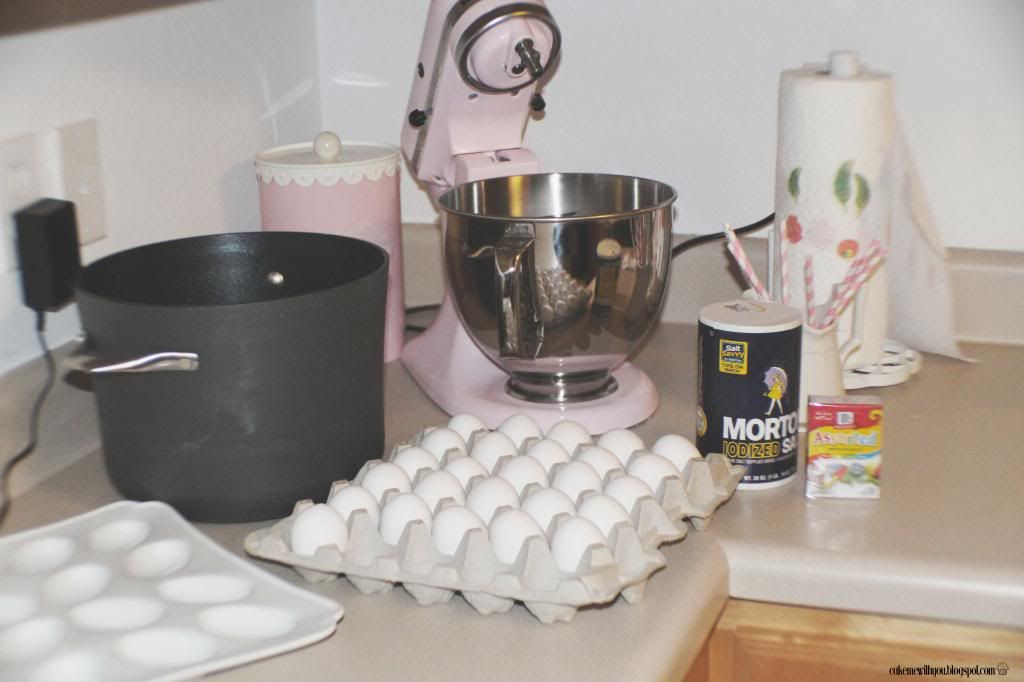
So I guess I should start with what you need...even though this photo is a COMPLETE fail. You also need mayo, relish, spicy mustard, pepper, and paprika WHICH ARE NOT PICTURED. I suppose I could blame them for not helping themselves out of the fridge and cupboard...
Okay, So you'll want to start out by grabbing a big ol' pot (especially if you're doing as many as I had to do!) Fill the pot about 2/3rd's full, put salt in the water, and watch her boil!
You will then put enough eggs to cover the bottom of the pot. I believe I did 18 eggs the first batch, and 12 the second.
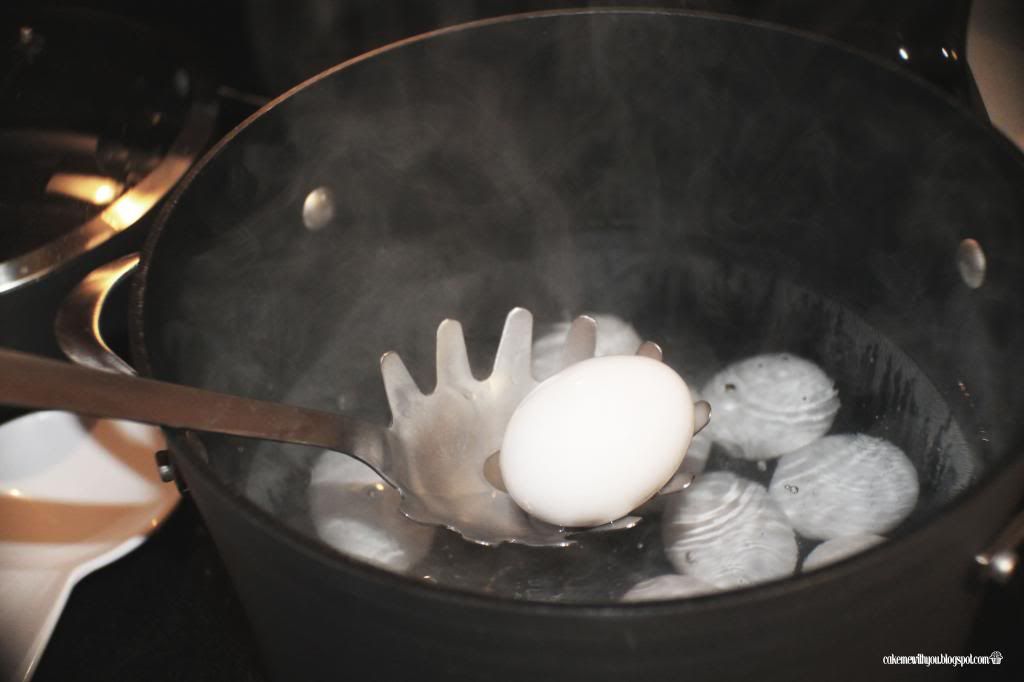
BE GENTLE
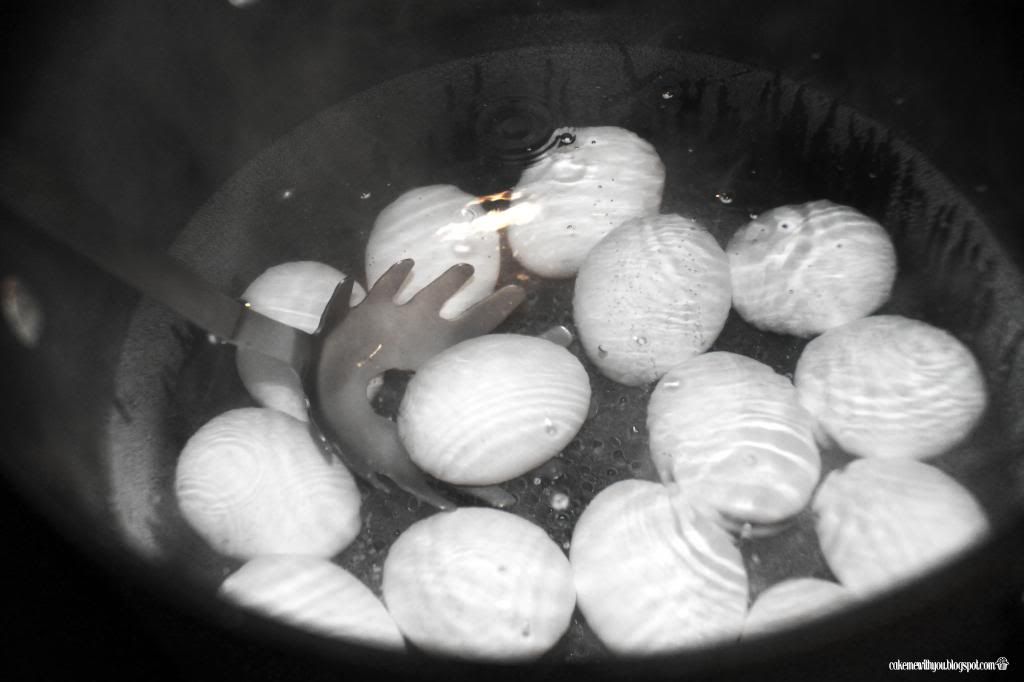
See? Easy Peasy.
Once they are all in, keep the heat on high until the water starts to boil again. THEN, set your timer on 10 minutes, and turn it to medium-high heat. Put the top on the pot, and let her cook! Now would be a good time, to clear a sink because you're going to dump all those eggs into a colander, run cold water over them for a minute or two, then just dump your whole ice bucket on top of them. Set your timer for another 10 minutes. While you're waiting, watch this super cool video on how to crack these little boogers without getting stabbed by the shells a million times!
Hearing the egg crack as you roll it is honestly one of the most satisfying sounds ever. Seriously, enjoy it. Ahhh...okay moving on!
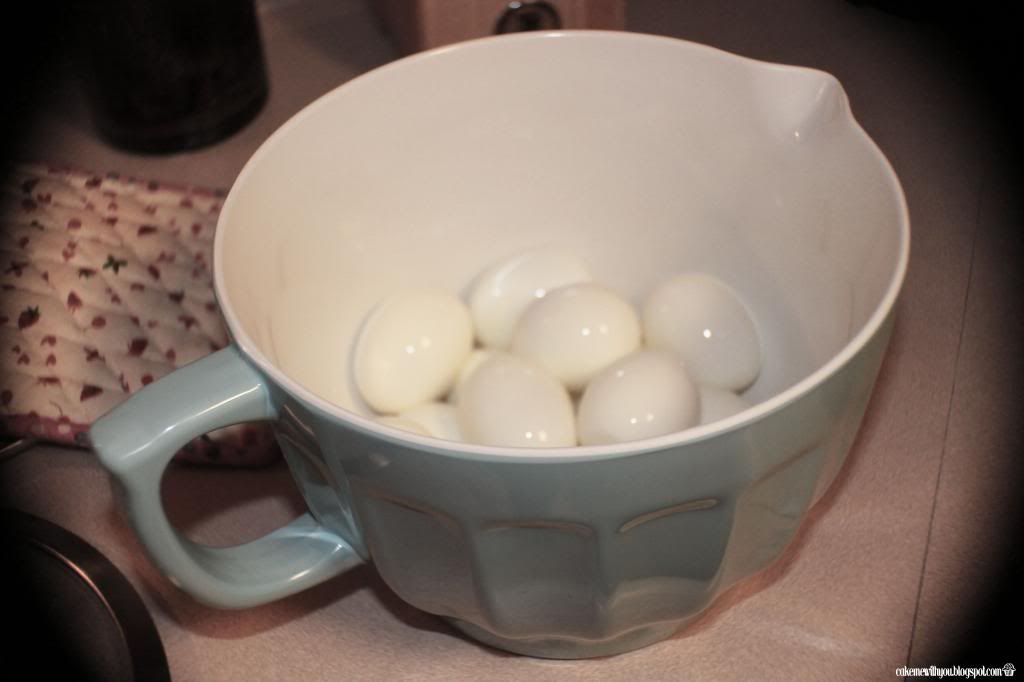
Once they are all cracked and ready to go, rinse those bad boys off!

Yes, cut these little cuties in half and separate the yolk from the whites!
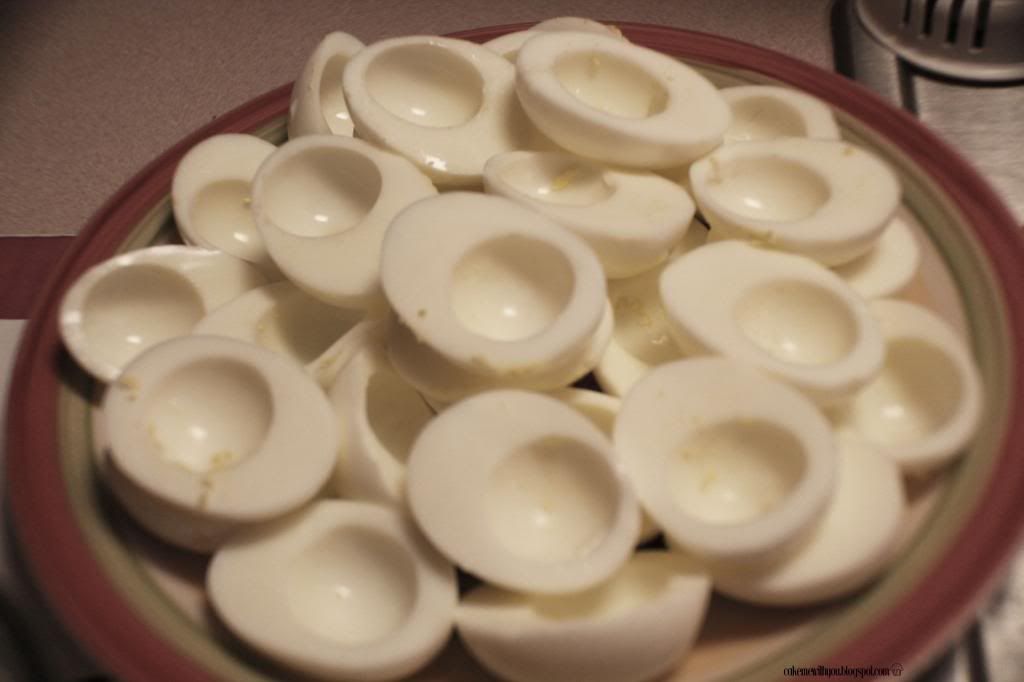
Then, rinse the whites. Be gentle because you don't want them to tear! Get all that yellow off the pretty white. :)
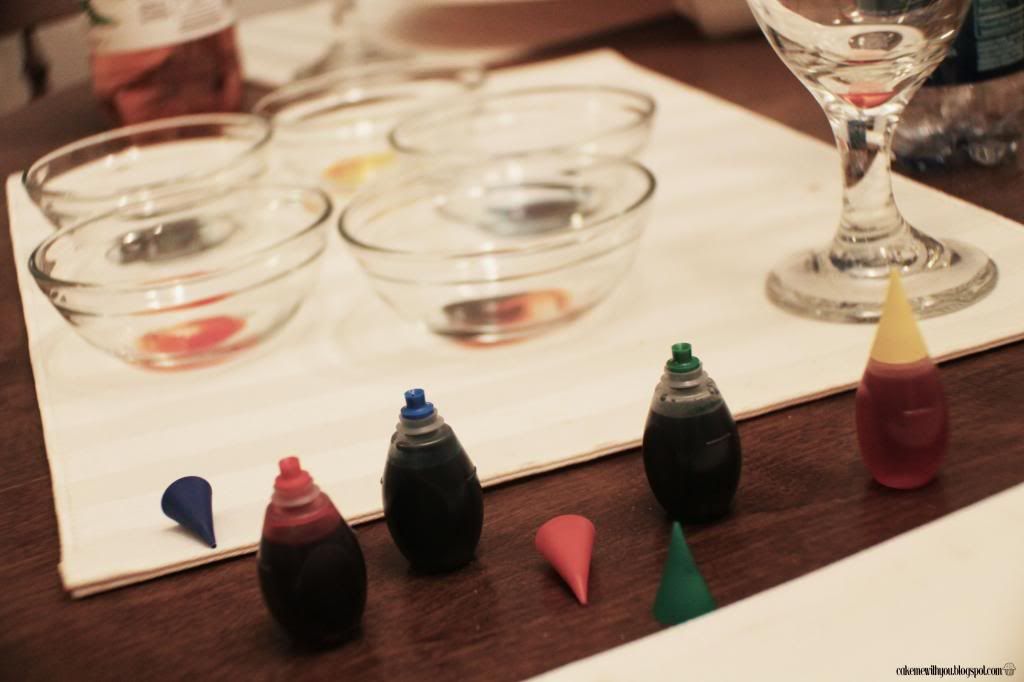
For every different color you want to use, you'll need a different bowl. I chose five different colors.
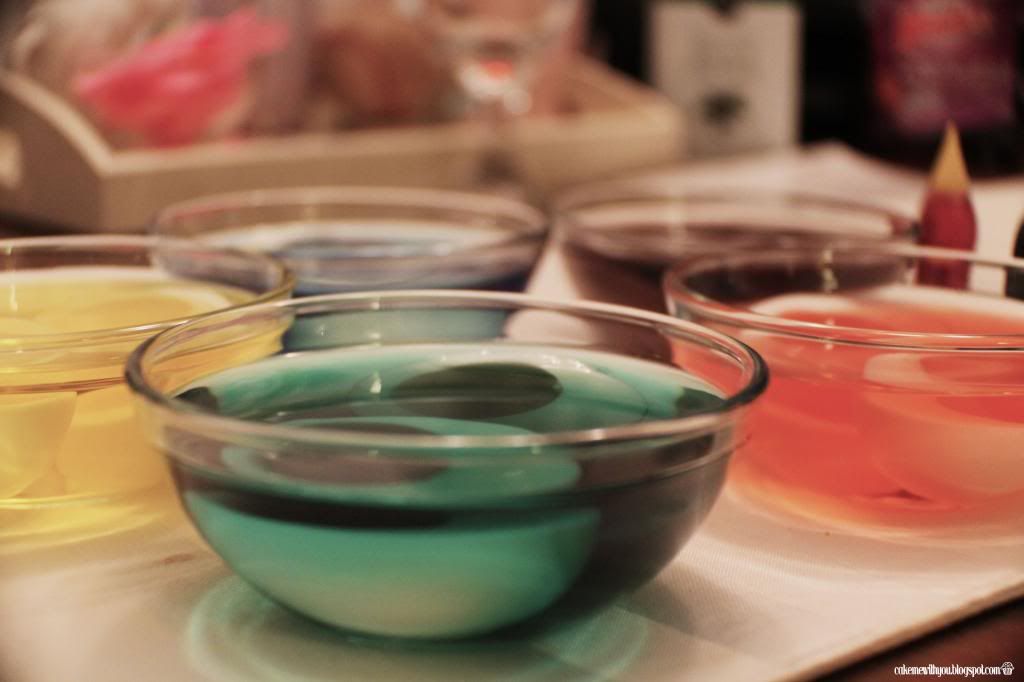
My blue and green looked so similar, I should have just done one or the other but YOU LIVE AND LEARN. I started with two drops of each color and added just a dash of vinegar to the water.
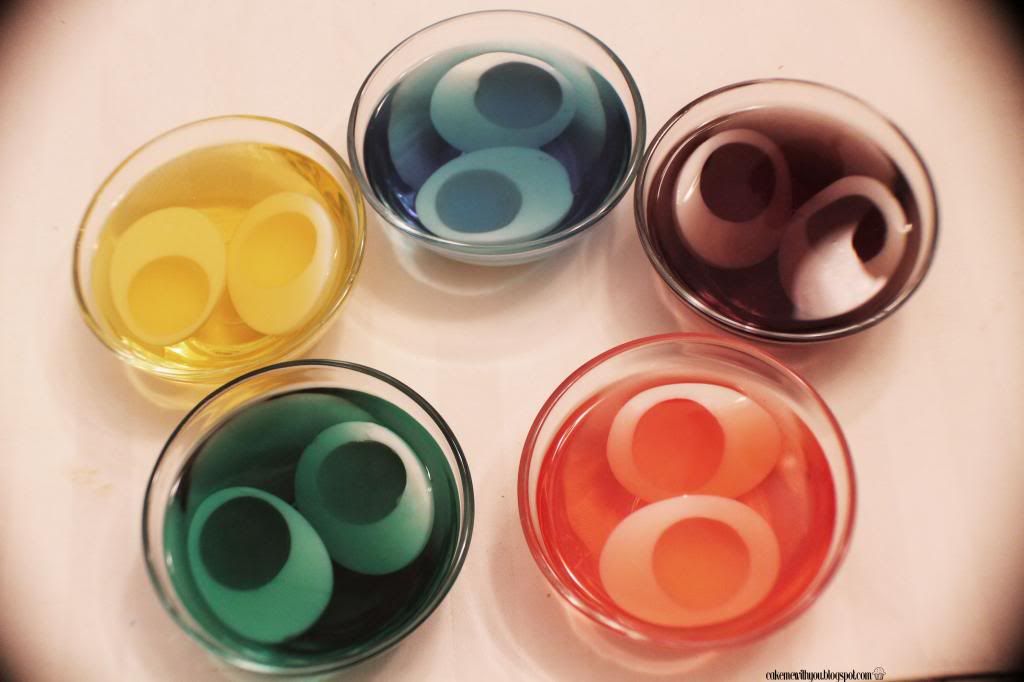
Drop however many you can fit in. Just make sure they are COMPLETELY COVERED by the dye.
I let them sit for 5 minutes, and that was plenty. However, if you want them to be super dark just adjust the time to your liking. I would stick with a certain time so you don't have some lighter or darker than others. :)
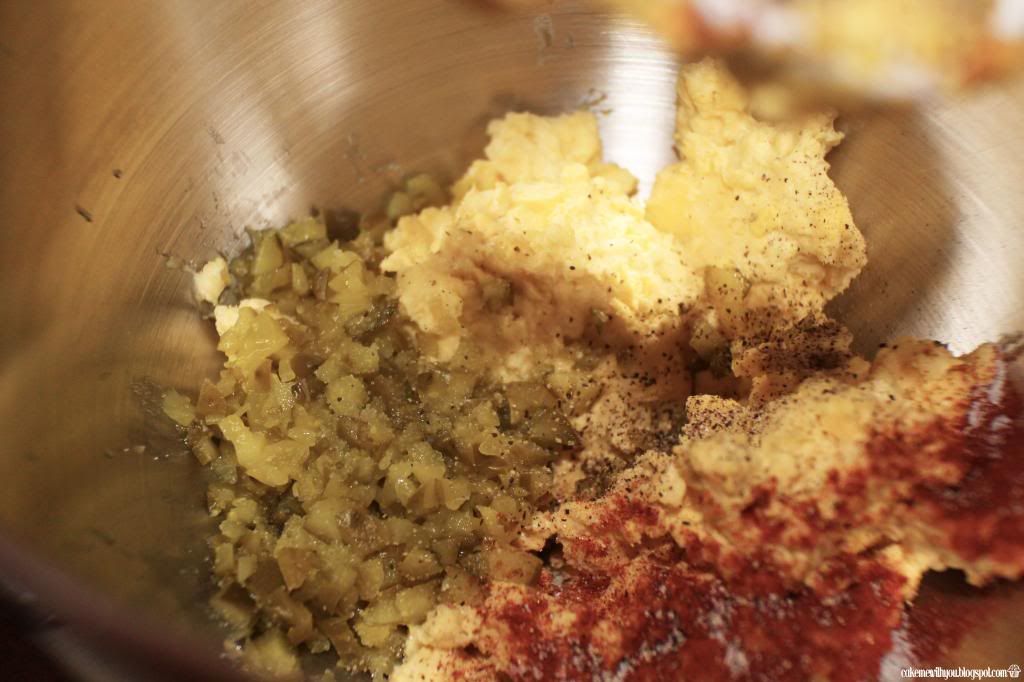
While you are dying your egg whites, go ahead and whip up your filling. I used the following items:
One big pickle, or 2 tbsp dill relish
1 tbsp spicy mustard
All egg yolks
1/4 cup mayonnaise
1 tsp paprika
salt and pepper to taste
Blend until perfect!
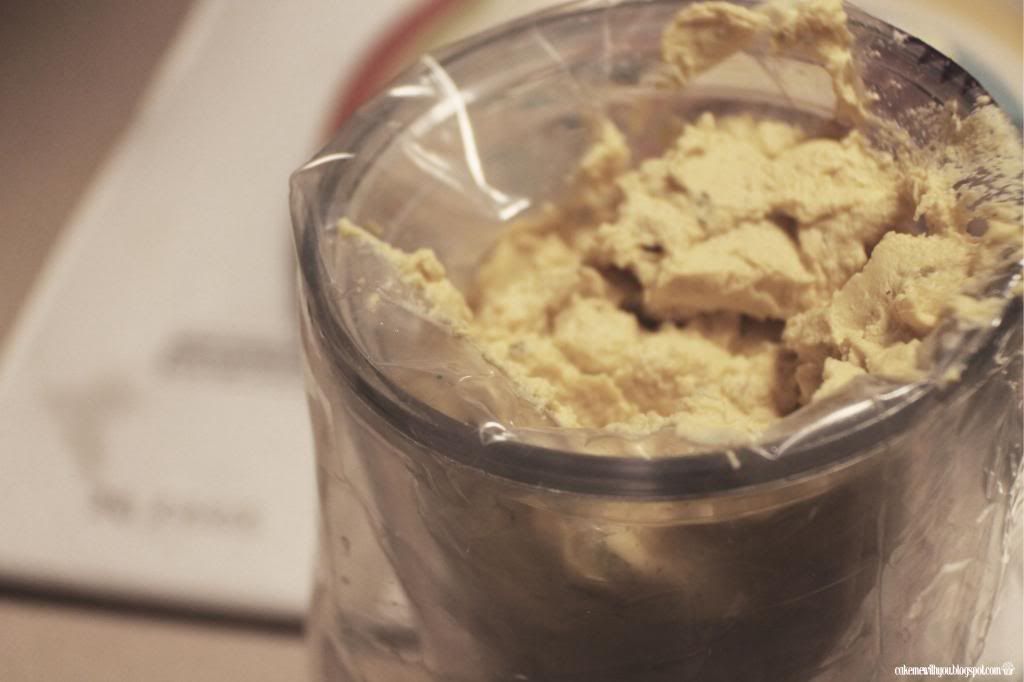
Use a Wilton piping bag, and load your filling up!
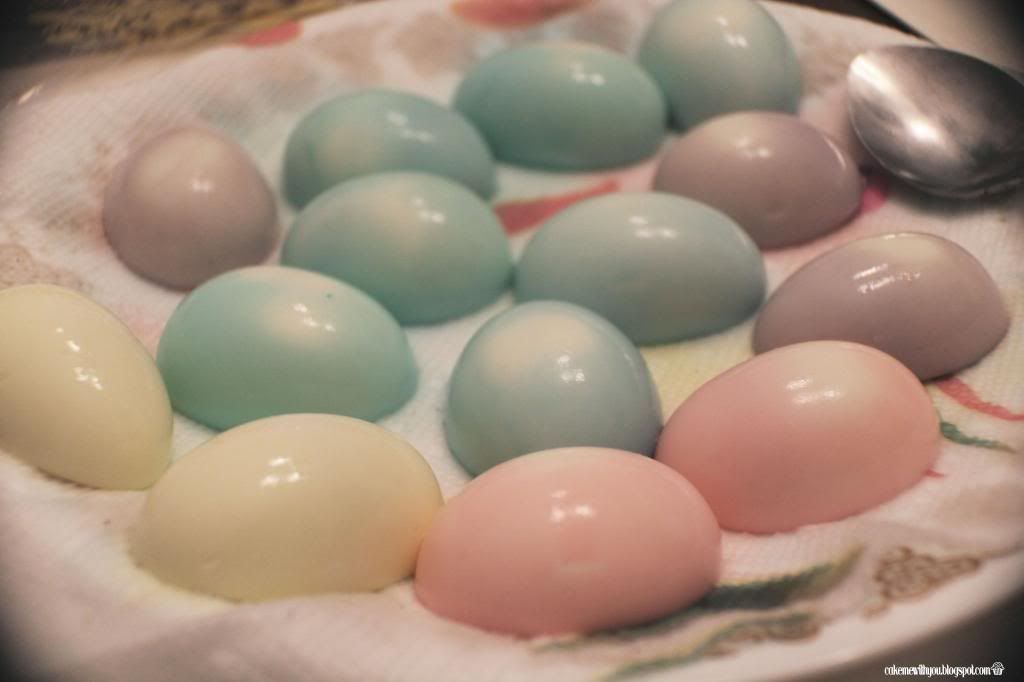
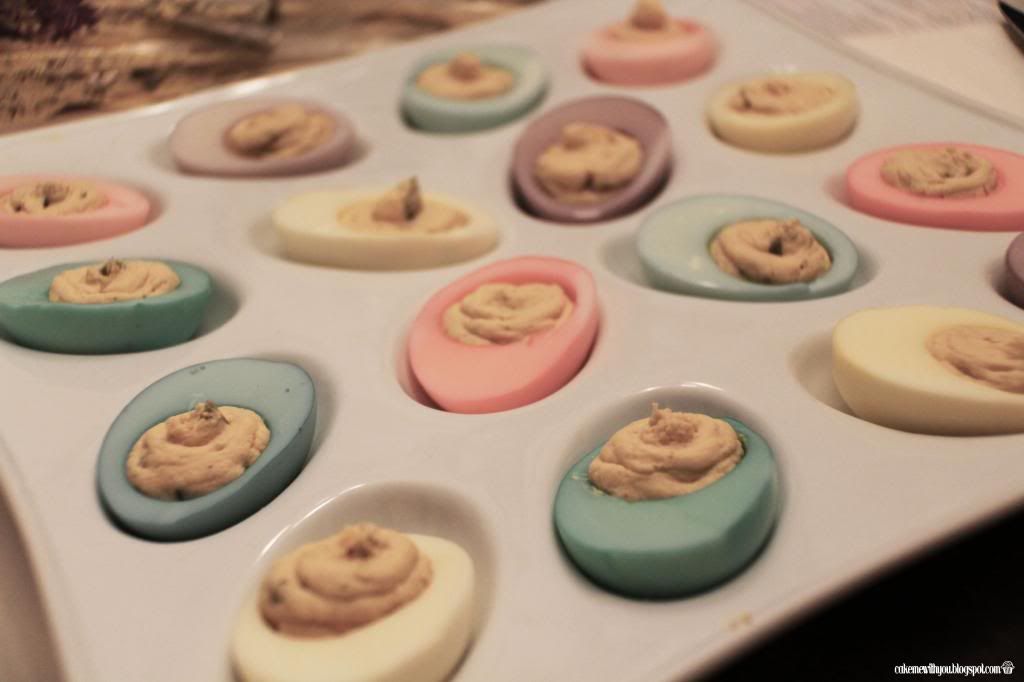
AHHHH...take your eggs out, and marvel over how stinking CUTE they are!
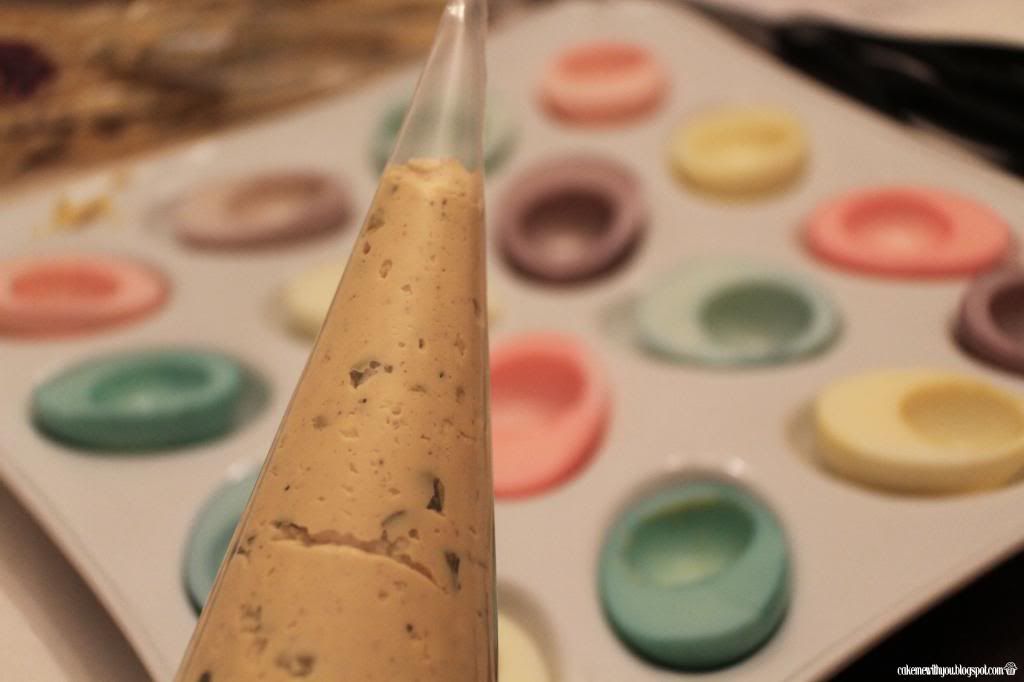
Cut your tip, and pipe as much filling as your little heart desires.
Prepare for every child to want one, whether they like them or not.
This little recipe is super simple. We mastered the hardest part by learning how to crack a hard boiled egg!
I know this was a lot more photos, than words but seriously just give it a try. Change things up at your next Sunday dinner, baby shower, or whatever you've got going on! This was such a small way to bring in a lot of color. KIDS LOVE IT. If you do try it, let me know how it went in the comments below!
All my love, you eggstraordinary lady!
Leanna